
Share this
by Luminite on Oct 4, 2018 4:26:01 PM
It might seem like cleaning your flexo printing products is just about as much fun as watching grass grow. Cleaning may seem like just another must-do chore, but doing it right can have a huge impact on how great your final product looks.
Dried ink, dust, and other contaminants often team up to create dirty prints that clients will not accept.
Learning how to clean your flexo materials is the first step to thwarting any potential printing defects.
Flexo Image Carrier Cleaning
According to packagePRINTING.com, proper image carrier cleaning practices can lead to better ink transfer and an increased lifespan for your image carrier.
Some of the most important points to understand when cleaning image carriers include:
Be Fast:
Clean the image carrier as soon as possible after the run, because ink starts to dry immediately and makes the job even harder as time goes by.
Be Gentle:
Don’t use a dirty rag, harsh abrasive, coarse brush, or pantyhose that can wear down the image carriers. Use something like a horsehair brush, lint-free rag or soft sponge.
Be Careful:
Depending on the type of ink and composition of the image carrier, the best cleaning solution is often just 100% alcohol, but it is always best to perform a quick swell test on a small section of the image carrier before attempting to clean the entire piece.
Be wary of using any “bargain” solutions or harsh chemicals that might end up causing damage to your expensive image carriers.
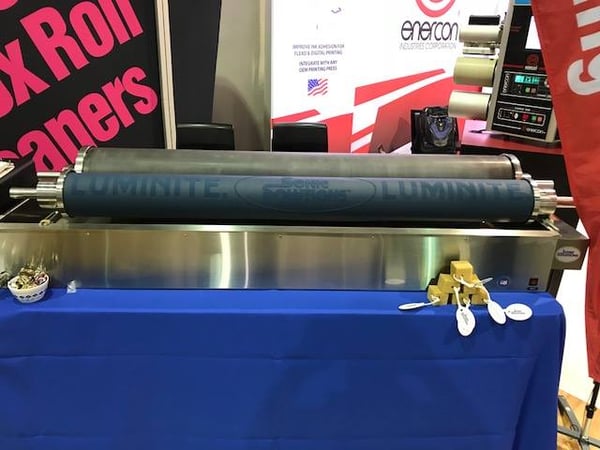
Cleaning the Anilox Rollers
Don’t just grab any solution that is nearby when it comes to cleaning anilox rollers.
You don’t want to damage the outer coating or sleeve, but still want to achieve a deep-cleaning so the roller continues to deliver the correct amount of ink. Here are some options used in cleaning anilox rollers:
Soda Blasting:
Air pressure blasts the roller with baking soda to clean it, with the residue sucked out via a vacuum unit.
Poly Beads:
Usually done off-press, these beads gently remove dried ink.
Enclosed Cleaning Systems:
Sonic Solutions provides an ultrasonic anilox roll cleaner that involves the use of high frequency sound vibrations to create a cleaning action.
The Flexo Maid system helps to prevents ink build-up, and lengthens the duration of the anilox.
Chemicals:
Chemicals such as sodium hydroxide or potassium hydroxide and stainless steel, brass or soft brushes may be used to manually remove dried ink, but they require more rinsing and a higher degree of safety precautions.
However, over time, these harsher cleaning methods can degrade the anilox and shorten its life span.
Other Cleaning Considerations
Let the individual pieces air dry and be sure to properly store your image carriers and anilox so they are ready for the next run.
Cleaning the Printing Press
Although the image carriers and anilox rollers are the two most crucial components to a quality print run, you want to keep the rest of your machine clean, lubricated and well-maintained as well so that it continues to function smoothly.
Don’t forget to check your CI Drum, or back-up roll, to make sure there is no dried ink residue or buildup that can affect your final print.
Keep the room and moving parts free of dirt that can get onto the printing components.
Although it might seem like cleaning takes away from quality production time, doing it properly can actually save you a lot of problems and headaches in the long run.
Have you tried all of the above steps, but your final prints are still coming out wrong?
The next step is to check out our Printing Defects Guide:

No Comments Yet
Let us know what you think